DIY : Fake nails . NO gel NO acrylic just tips
For under 8 dollars, you can create professional (well close to professional) looking nails using only tips! This do -it - your self-project is quick and lasts for about two weeks. In this tutorial, I will also show you how to create a soft fade by blending your nail polish with your natural nail colour.

Things You'll Need
- Nail Tips ( Buy nails that have a longer bottom piece - picture in Step 5 )
- Nail Glue
- Nail File (with a rough and smooth side )
- Nail Buffer
- Finger Nail Clipper
- Nail Polish - For this tutorial, I used:
- Holographic colour,
- Natural clear pink,
- Clear top coat (gel look)
- K.H.R.O.M.A glitter polish
- My Pinterest board for inspiration @niche york (optional)
1. Buffing your Nails

Use the rough side of the nail buffer to create a slightly rough surface on your nails. It will be easier for the nails to stick on your real nails. When you are done wipe off the dust with a napkin.
Tip
If you want your nails to appear longer, you can push back your cuticles with an orange stick. I would not recommend cutting them. It can lead to nail problems.
2. Finding the right size

Find nails which are not too wide or narrow for your fingers. Make sure that it fits comfortably over your real nail
3. Applying glue
 Apply just enough glue to cover the bottom piece of the fake nail.
4. Cutting your nails

5. Shaping your nails


There are a few nail styles to choose from. I usually go with the stiletto shape but I will be "attempting" to do the coffin style. When you have finished creating your shape, file the back of the nail to remove excess particles.
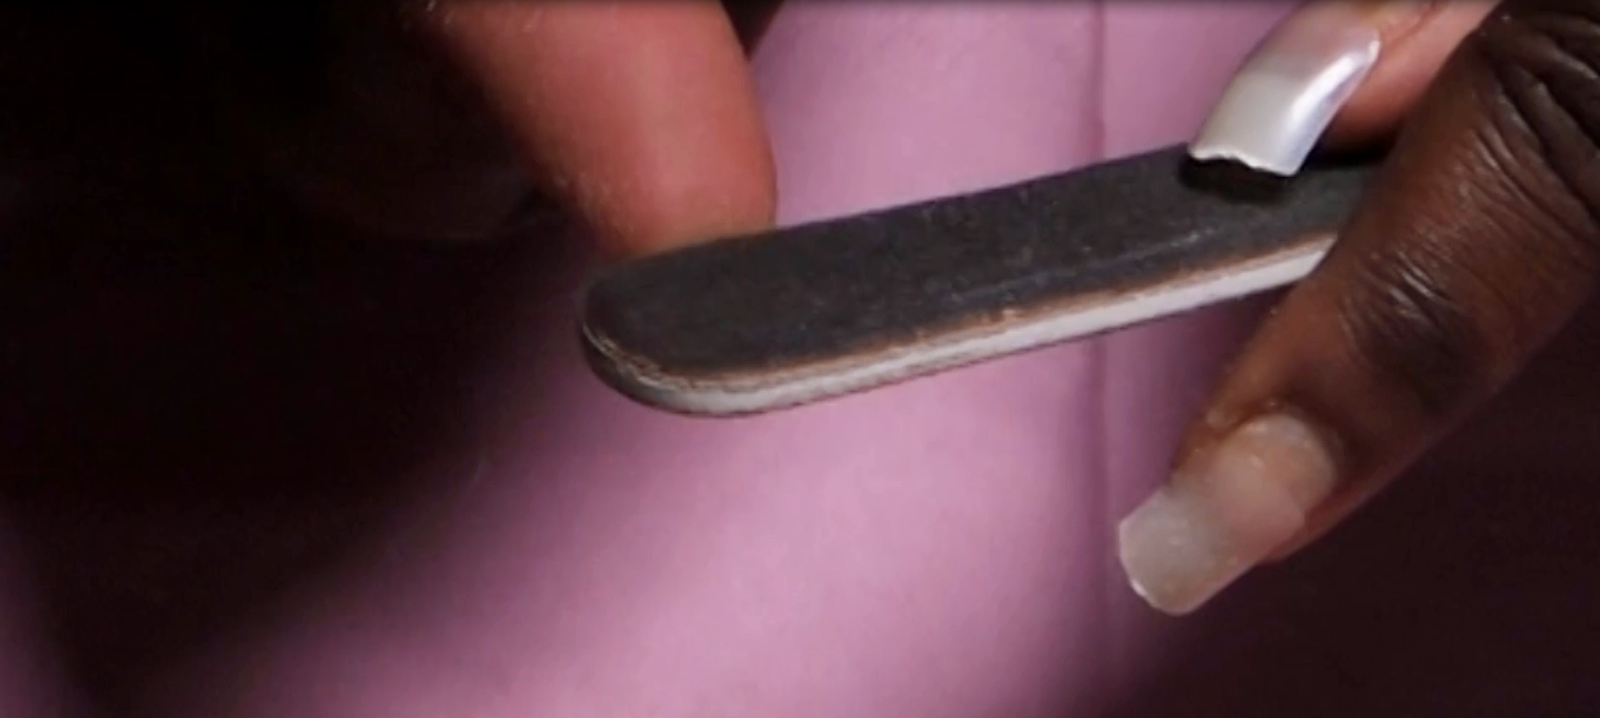
6. Filing around your nail
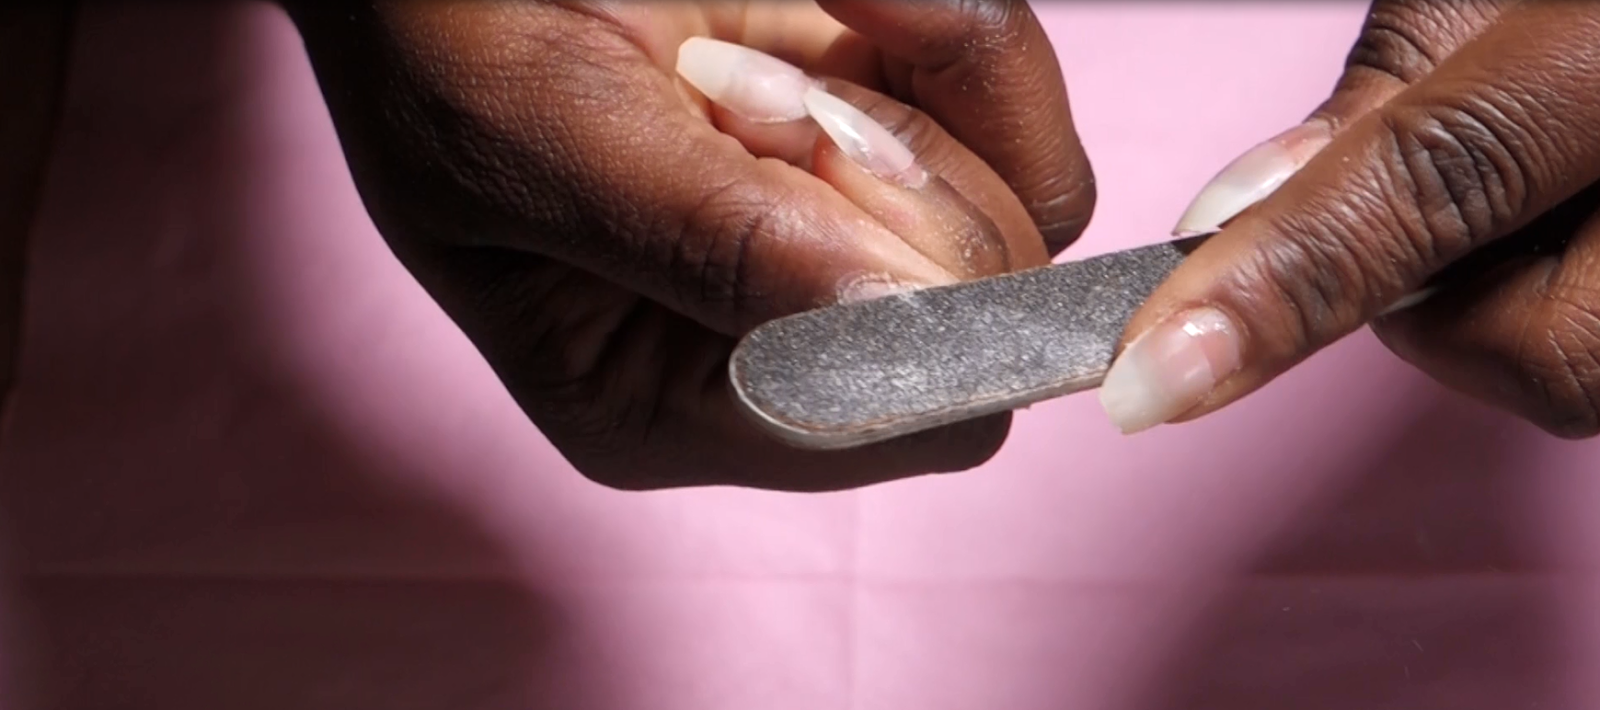
7. Levelling your nails


Make sure to level the sides of your nail. Continue doing this for the rest of your nails. Wipe off your file often with a brush or cloth to remove particles. This will help you to file better.
Tip: Using garlic oil
This softens your cuticles and helps to strengthen brittle fingernails. Apply some on your hands making sure to get it in your nail cuticle and wipe with a napkin.8. Applying nail polish.
In this case, you do not need a base coat before applying nail polish. The fake nail allows the polish to stay on. Select the nail colours that you would like to use.
Since we will be creating a fade with your natural nail, it is recommended but not necessary to use the clear pink natural nail polish. It gives a soft pink tone.If you are not sure which finger you will create the fade, you can apply it to all.
9. Creating a fade

10. Create a design
The rest is up to you or you can be inspired by the design in my Nail tutorial video or you can also check out my Pinterest board for more inspirations. I finished my nails off with a clear top coat (gel look) for a shiny finish.
I hope that you have enjoyed this tutorial. If you have any problems with understanding the steps, don't hesitate to leave a comment or send a message. You can also check out the Video Tutorial.

Comments
Post a Comment